In my recent Magic and Not A Spiral posts, I used mouse rollovers to help illustrate the differences between two images. For anyone else who uses Blogger and wants to know how, here is a handy guide.
First, Blogger doesn't (easily) allow Javascript, so this will be pure CSS. Second, I wanted the rollover code in the post to be as small and repeatable as possible. So, I used Tables (gasp!).
There are two pieces of formatting code.
Piece Number One This goes in Layout | Edit HTML, somewhere in the CSS layout. If you don't know what the CSS layout is, ....you probably shouldn't be playing around in the HTML. So, this guide is not for you. For everyone else, here's what to paste in:
What this does is, when you create a table with the "rollover" class, it will hide any image inside the table, which will leave any background image visible. It also removes table and image borders, as my normal layout has those.
Piece Number Two Now, whenever you want to include a rollover image, all you have to do is use:
Set "rolloverimage" to the url of the image you want displayed when the mouse is over, and "regularimage" to what you want shown normally. (I don't remember why I put height=73 in there, but it works for any size image [except maybe those with height less than 73?]).
Voilà, pure CSS rollovers usable on Blogger. And here are some examples in action, using Calvin re-enacted by seefresh's lovely wife.
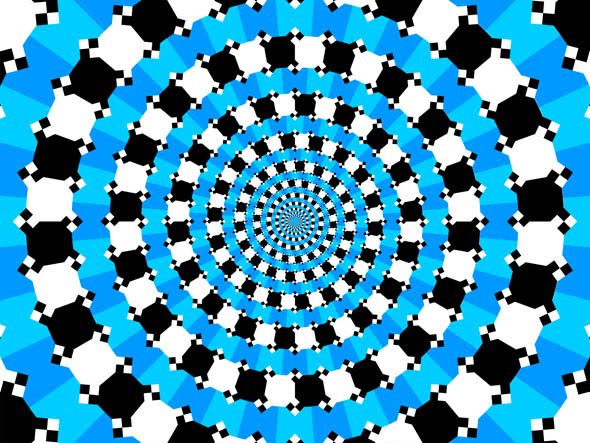
I wondered why it seemed to spiral in counter-clockwise. Dan suspected that it was the orientation of the corner diamonds, so I made a second image with the black and white squares reversed, which you can see below (mouse-over the original). Does it reverse the spiral for you?
Content-Aware Fill is making the rounds. Here is yet another example video: Show/Hide
Mwahaha
And stunningly, it turns out that the basic technology (texture synthesis) has been around FOR A DECADE. That's right, nerds in the know were running magic in GIMP ten years before Adobe posted their sneak peak at CS5. The upcoming Photoshop with this magic isn't yet available, but the GIMP version is right now (resynthesizer and heal selection), so I thought I'd run it through its paces. I couldn't find the original hi-res photos anywhere (0 results on TinEye), so I had to make-due with screencaps from the original video.
(rollover for originals)
In the first picture, everything except the sky was an easy Heal Selection. The sky didn't turn out right, and I ended up using clone-stamp to cover up the weirdness, and then Heal Selection over that.
For the desert, again I had to clone-stamp part of the scrub-brush over the road first, and then Heal Selection over that.
Finally, for the panorama (which was actually the first image I tried), I didn't use anything except Heal Selection, BUT I had to do the picture in steps (first one corner, then the next, etc).
So what did I find? Well, although the Resynthesizer tool 'works', it's not nearly as easy to use as what is shown in the CS5 preview video. And some of the results were a little wonky. But it's fairly quick and easy, and the output will usually pass a quick glance (but not intense scrutiny).
What you'd need to do this yourself: GIMP itself Updated Resynthesizer (compiled for windows, sorry) The patched Heal Selection script Other References: Another guy Resynthesizing the photos Another guy testing it out last October Other handy GIMP tips/tools: Tweaking GIMP to replace Photoshop (sorta) The Liquid Rescale plugin The do-everything G'MIC plugin, although its predecessor GREYCstoration has better examples The FX Foundry is a good collection of scripts (Gimp Guru used to have good tutorials, but then they switched to WordPress and lost all the graphics)






 Posts
Posts

